Sheds, whether they serve as storage spaces for tools or gardening supplies, or simply as a backyard retreat, often suffer the effects of weathering over time. The passage of years, exposure to harsh elements, and wear and tear from everyday use can cause them to become dilapidated. As the structure deteriorates, it may no longer be useful or safe to keep around, making demolition and removal an ideal solution.
If you’re facing the task of removing a shed, it’s essential to plan ahead. While tearing down a shed might seem simple at first glance, there are many details involved in ensuring the process goes smoothly. It’s not just about knocking the structure down; you must also consider the materials used, safety, and how to dispose of or recycle the debris. Understanding these elements beforehand will allow for a more efficient, cost-effective, and hassle-free demolition process.
Assessing the Condition of Your Shed
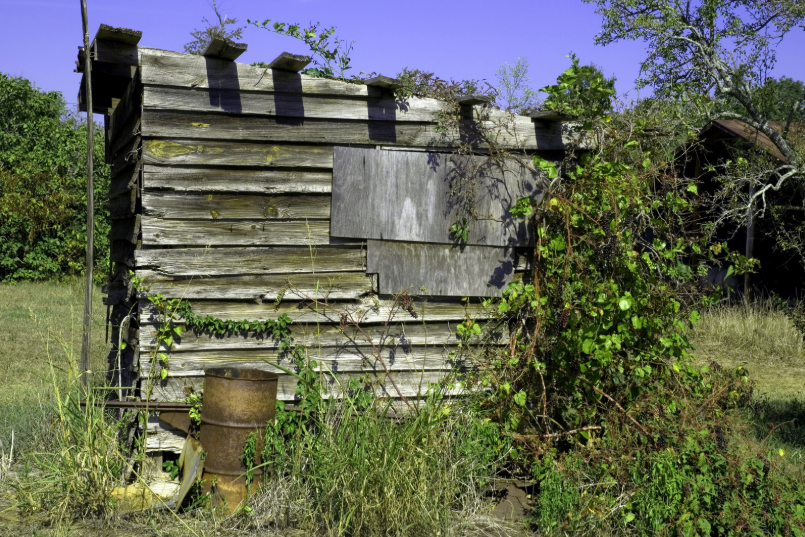
Before starting any demolition work, it’s crucial to first evaluate the condition of your shed. This step helps determine the method and tools you’ll need to tear it down. A shed that’s in decent condition might only need a few parts taken apart, while a structure that has fallen into disrepair may need a complete teardown. Assessing its condition gives you insight into the difficulty of the task ahead and helps you plan accordingly.
Take note of the materials used to build the shed, as this will also impact the demolition process. Wooden sheds tend to be the easiest to dismantle with basic tools, while metal or plastic sheds require specialized equipment. Inspecting the shed for signs of rotting, rust, or structural instability will also tell you whether it’s safe to proceed with the demolition yourself or if you need professional help. This step ensures that the process remains safe and manageable.
Gathering the Right Tools and Equipment
Having the proper tools at your disposal is essential when demolishing and removing a shed. The type of shed and its materials will dictate the specific tools you need. For a typical wooden shed, you may need a crowbar, hammer, and saw to break it down, but if you’re dealing with a metal structure, you’ll need more specialized tools like a metal-cutting saw, grinder, or power drill. The key is to be prepared so that you don’t waste time searching for tools during the process.
Beyond the tools required for taking the shed apart, safety equipment is equally important. Protection should be a priority to avoid injury from sharp objects, falling debris, or power tools. Equip yourself with gloves, safety goggles, and durable footwear to ensure your safety. If you’re using power tools like saws, grinders, or drills, don’t forget to wear ear protection as well. Taking the time to set yourself up with the right equipment will help you work more efficiently and safely.
Start with the Roof
Starting the demolition process with the roof is often the most logical approach. The roof is typically the most challenging part of a shed, especially if it’s been exposed to the elements for years. Begin by removing any shingles or panels that cover the structure. A hammer or crowbar can help remove nails that are holding the panels in place. For larger sheds with more intricate roofing, a reciprocating saw or similar cutting tool may be needed to get through the material.
If your shed has a metal roof, it might be necessary to use an angle grinder or saw to cut through the metal. It’s important to work carefully during this phase, as metal roofing can have sharp edges. Ensure that you are using protective gloves and goggles to avoid injury. Removing the roof first gives you more space and better access to disassemble the rest of the shed more effectively, as gravity will help with the demolition.
Disassemble the Walls
Once the roof has been safely removed, it’s time to turn your attention to the walls. Start with the outer panels, whether they’re made of wood, metal, or another material. For wooden walls, use a hammer or crowbar to pry the nails or screws holding the panels in place. As you work your way around the structure, remove the panels one by one, being careful not to damage the underlying frame. If the shed walls are metal, you may need to cut through the material with a power saw or grinder.
As you remove the panels, inspect the framework of the shed. If there are any beams or supports that are connected to the walls, they’ll need to be taken apart too. Use a crowbar or saw to separate the frame, and keep an eye out for any fasteners that need to be removed. Working slowly and methodically will ensure that the structure comes down in a safe and controlled manner.
Take Down the Frame
The next step is to tackle the frame of the shed, which is typically made of wood or metal. Begin with any crossbeams or structural supports. These parts of the shed will likely be the most challenging to remove, as they’re often designed to hold the shed together and support its weight. Use a crowbar or hammer to break any connections or fasteners, and take extra care not to injure yourself with sharp nails or edges.
If your shed has a larger frame or if the structure is particularly sturdy, you might want to use power tools like a reciprocating saw to cut through thicker beams. Depending on the shed’s design, you may need to disassemble parts of the frame piece by piece. This phase of the process can be time-consuming, but it’s necessary to safely remove the entire structure. If you need help, don’t hesitate to ask for assistance—having an extra pair of hands can make the job much easier.
Handling the Debris: Recycle or Dispose
When it comes to dealing with the debris from your shed demolition, taking the time to separate materials for recycling is a smart move. Wood, metal, and even plastic can often be recycled, which helps reduce the amount of waste that ends up in a landfill. Many local recycling centers accept these materials, so take the time to find one near you that will accept your shed debris. If you’re unsure about the recycling process, you can always ask your junk removal service to handle it for you.
For materials that cannot be recycled, such as certain types of plastic or materials with hazardous chemicals, proper disposal is key. It’s important not to just toss these materials into the trash or leave them in the yard. Many areas have designated disposal sites for hazardous waste, so make sure you are disposing of these materials in accordance with local regulations. The goal is to keep your yard clean and your impact on the environment minimal.
Making the Area Ready for New Projects
Once the debris has been cleared away, take a moment to inspect the area and perform any final cleaning tasks. Depending on the size of the shed and the complexity of the demolition, there may be some lingering remnants in the soil or ground. Use a rake to smooth out the ground, fill in any holes left by the shed’s foundation, and make sure the area is level. These small tasks will ensure that the area is ready for whatever new project you have in mind.
Whether you plan to build a new shed, plant a garden, or simply create more open space in your yard, the final cleanup will provide a blank canvas for your next steps. Taking the time to tidy up the area not only makes it look better but also ensures that your new project has a solid foundation. A thorough cleanup ensures you start fresh, without worrying about leftover debris or the remnants of your old shed.
Hiring Professionals: When the Job is Too Big
While demolishing a shed might seem like a simple task, there are cases where hiring professionals is the best option. If your shed is particularly large, made of hazardous materials like asbestos, or if you lack the tools and time to do it yourself, enlisting professional help is wise. Professional junk removal companies have the equipment and expertise to handle the job more efficiently and safely, ensuring that everything is done correctly and within the regulations.
In addition to making the job easier, hiring a professional service can save you time and prevent you from making costly mistakes. They can provide a full-service experience, from dismantling the shed to removing all debris, leaving you with a clean and clear yard. This is especially helpful if you’re dealing with a complex structure, large quantities of debris, or simply want the job done quickly without the hassle of doing it yourself.
Conclusion
Tackling the demolition and removal of a shed can seem like an overwhelming task, but with the right planning and tools, it becomes a manageable and rewarding project. By carefully assessing the shed’s condition, gathering the necessary equipment, and following a step-by-step process, you can tear down and remove your shed safely and effectively. From clearing out the contents to dismantling the structure, each phase of the process can be handled with ease.
However, if you find that the job is too complex or you’d prefer to leave it to the professionals, help is just a call away. Professional junk removal services, like Clutter Ninjas Junk Removal, can ensure that the demolition process is completed quickly, safely, and efficiently. With experts handling the hard work, you can sit back and relax, knowing the job will be done right.