Embarking on a kitchen demolition project can be both thrilling and overwhelming. Whether you’re preparing for a complete renovation or simply updating specific features, a solid understanding of the demolition process is key. Before tearing anything down, it’s essential to turn off all utilities—electricity, gas, and water—to avoid any safety hazards. Protect surrounding areas with plastic sheeting or tarps, and be sure to wear proper safety gear, including gloves, goggles, and sturdy footwear.
Start by removing appliances, cabinet doors, and hardware, then proceed with dismantling cabinetry and countertops. Work carefully to avoid damaging structures you plan to keep, like flooring or walls. Renting the right tools—such as a pry bar, sledgehammer, or reciprocating saw—can make the job faster and safer. Lastly, plan for debris disposal by renting a dumpster or scheduling a pickup. With preparation and patience.
Understanding the Importance of Proper Kitchen Demolition
Kitchen demolition is not just about tearing down structures; it’s about laying the groundwork for a successful renovation. A well-executed demolition will help you avoid costly repairs and future issues. By planning the process carefully, you ensure that every aspect of your kitchen remodel is smooth, from installing new cabinets to upgrading electrical systems. Proper demolition makes the space ready for the new features you plan to install, all while preserving the integrity of the structure you’re working with.
A strategic approach to demolition also saves you time and effort in the long run. A rushed job may lead to delays or unanticipated issues once the renovation begins. By prioritizing safety and careful dismantling of existing components, you can prevent damage to wiring, plumbing, or the foundation.
Assessing the Scope of Your Demolition
Before swinging a sledgehammer, it’s essential to evaluate the scope of your demolition. Are you removing just the countertops and cabinets, or are you gutting the entire kitchen? The answer to this question will guide your approach and help you plan more effectively. For a simple remodel, you may only need to remove surface elements like appliances or countertops. But if you’re doing a full gut renovation, it’s important to assess structural component.
Understanding the scale of your project allows you to estimate the time and costs involved accurately. It’s also important to determine whether any components can be salvaged, recycled, or donated. Doing so not only reduces your environmental impact but can also help offset some of the costs of your renovation. By knowing the scope in advance, you can avoid unexpected obstacles and ensure your kitchen demolition runs as smoothly as possible.
Preparing Your Kitchen for Demolition
Preparation is key to a smooth demolition process. Start by clearing out all items from the kitchen. This includes dishes, cookware, food, and any other personal items. Not only does this protect your belongings, but it also provides a clear workspace for the demolition team.
Next, disconnect all utilities. Turn off the water supply to prevent leaks, and disconnect any gas lines to avoid potential hazards. It’s advisable to consult with a professional when dealing with gas lines to ensure safety.
Protecting Your Home During Demolition
Demolition can get messy, so it’s important to take steps to protect the rest of your home. One effective method is sealing off the kitchen with plastic sheeting. This barrier helps contain dust and debris within the work area, preventing it from spreading throughout your house. It also makes cleanup much easier once the demolition is complete.
In addition to sealing off the space, be sure to lay down protective coverings on the floors. These coverings can safeguard existing surfaces from scratches, dents, or stains caused by falling debris or heavy foot traffic. Taking these precautions before the demolition begins can save time, effort, and money in the long run.
Executing the Demolition Process
With preparations in place, it’s time to begin the demolition. Start with the removal of appliances. This includes the refrigerator, stove, microwave, and dishwasher. Ensure that all connections are safely disconnected before moving these items.
Once appliances are removed, proceed with the cabinetry. Begin by removing doors and drawers to lighten the load. Then, unscrew and carefully take down the cabinets. If you’re planning to reuse or donate them, take extra care during removal.
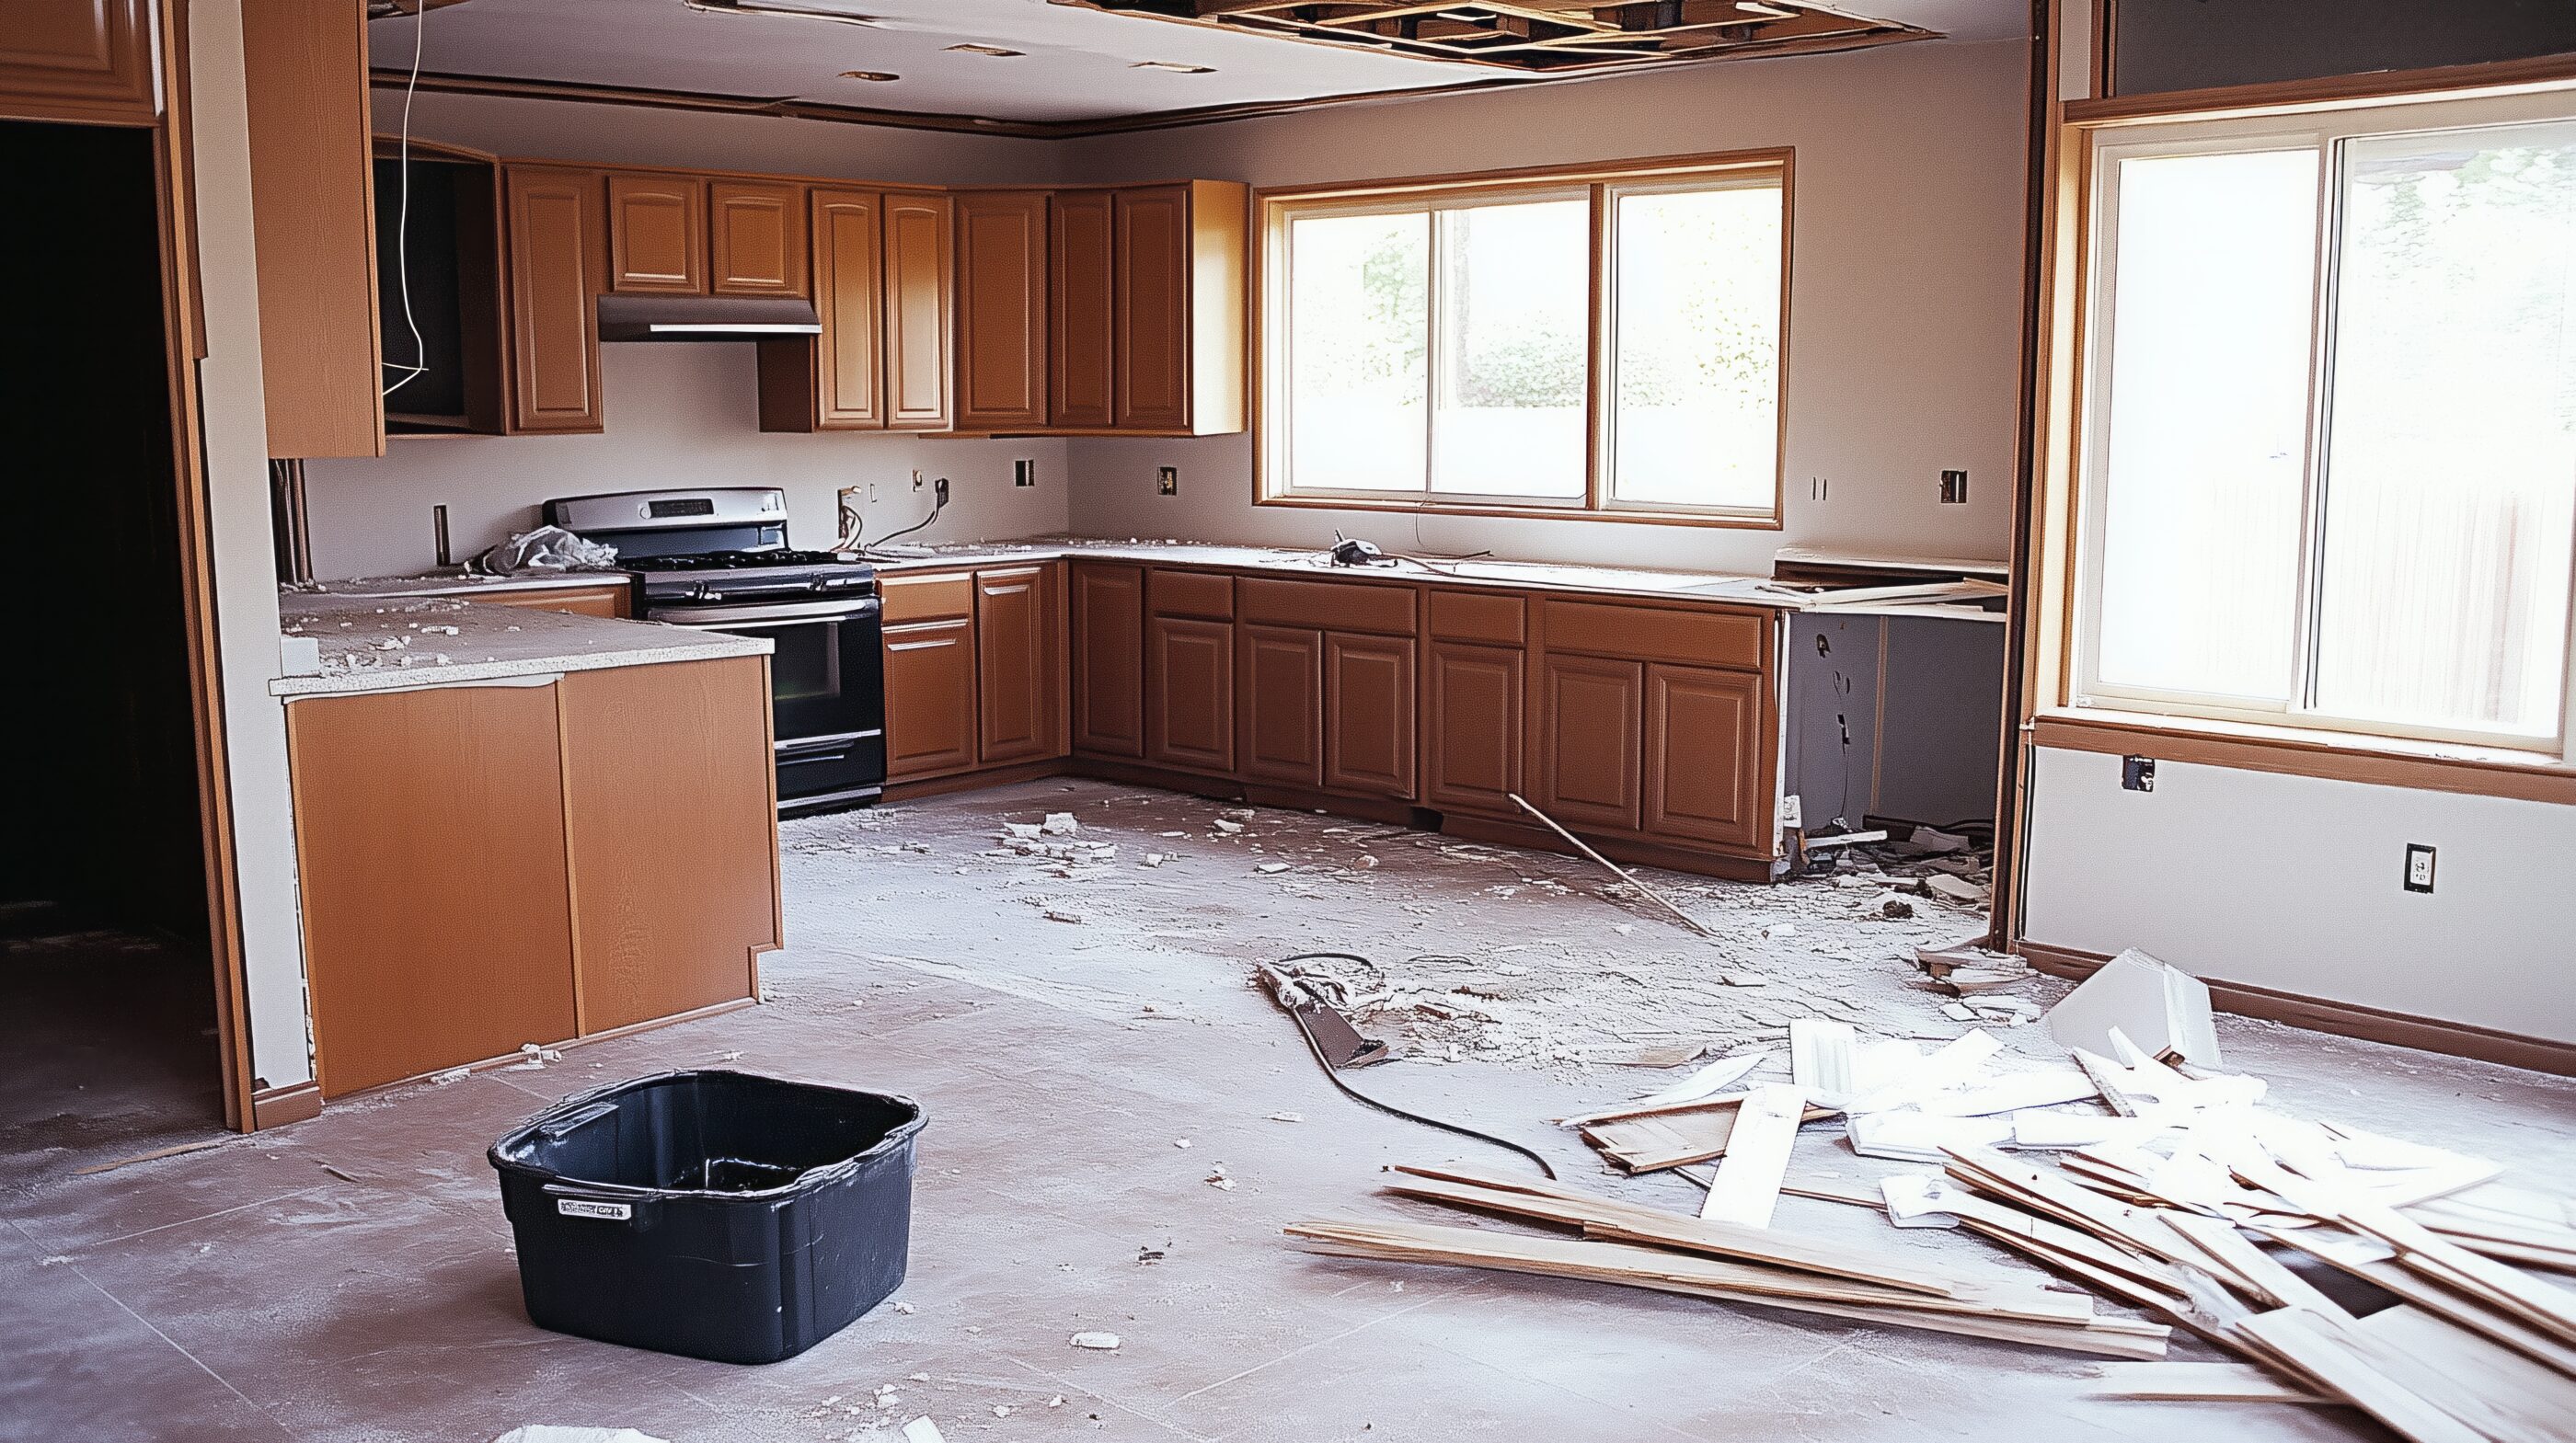
Addressing Flooring and Walls
After cabinetry, focus on the flooring. Depending on the type of flooring, removal methods will vary. For instance, tile floors may require a chisel and hammer to lift, while hardwood floors might be unscrewed or pried up.
Walls may also need to be addressed, especially if you’re planning to change the layout. Removing backsplash tiles or drywall can be part of this phase. Always be cautious of hidden utilities behind walls to avoid accidents.
Managing Waste and Disposal
A significant amount of waste is generated during kitchen demolition. Renting a dumpster can be an efficient way to manage this debris. Ensure that the dumpster is placed in a convenient location and that you’re aware of any local regulations regarding waste disposal.
Sort materials as you go. Separate wood, metal, and other materials to facilitate recycling and proper disposal. This not only helps the environment but may also reduce disposal costs.
Safety Considerations During Demolition
Safety should always be a priority during demolition. Wear appropriate protective gear, including safety goggles, dust masks, and heavy-duty gloves. If you’re unsure about handling certain tasks, such as disconnecting gas lines or electrical systems, consult with a professional.
Be mindful of structural elements. Avoid removing load-bearing walls or supports unless you’re certain of their function and have consulted with a structural engineer.
Post-Demolition Cleanup and Inspection
Once demolition is complete, thorough cleanup is essential. Remove all debris from the site and inspect the area for any damage or issues that may need addressing before construction begins.
Take this opportunity to assess the space and make any necessary adjustments to the layout or design before proceeding with the renovation.
Planning Your Kitchen Demolition Project
Before swinging a hammer, it’s crucial to have a detailed plan in place. Demolition isn’t just about tearing things down—it’s about understanding what you’re working with. Identify which walls are load-bearing, what fixtures need salvaging, and the scope of your project. A clear timeline and checklist help prevent unexpected setbacks that can delay renovation or increase costs.
Also, consult with a contractor or designer if you’re unsure about layout changes or structural components. Planning ahead allows you to manage materials, labor, and budget more effectively. Don’t forget to check local permit requirements—they may impact your demolition timeline or what you’re legally allowed to do on your own.
Gathering the Right Tools and Safety Gear
A successful kitchen demolition starts with having the right tools. Essentials include a sledgehammer, pry bar, reciprocating saw, utility knife, and a shop vac for cleanup. Don’t overlook protective coverings for floors or adjacent rooms to avoid unnecessary mess and damage. Tools can often be rented, especially if you only need them for the demo phase.
Equally important is personal protective equipment (PPE). Always wear safety goggles, work gloves, sturdy boots, and a dust mask or respirator to protect against debris and dust. Demolition is a messy job with potential hazards, so proper gear is essential to minimize the risk of injury and exposure to harmful materials like mold or asbestos.
Disconnecting Utilities Safely
Before starting demolition, turn off all necessary utilities—electricity, gas, and water. This step is non-negotiable. Locate the main circuit breaker, water shut-off valves, and gas supply line. Improper disconnection can lead to leaks, electrical shocks, or even fires, making this one of the most critical safety precautions in your kitchen demolition.
Hire a licensed professional if you’re not confident handling these systems. Even a small mistake can be dangerous or costly. Double-check outlets and pipes before pulling cabinets or walls apart. Labeling wires and pipes as you go can help make the future installation process smoother and more organized.
Protecting Surrounding Areas
Demolition dust and debris can travel far beyond your kitchen. Use plastic sheeting or tarps to seal off the space and protect adjacent rooms. Cover floors with heavy-duty drop cloths or cardboard, especially in pathways leading to the kitchen, to prevent scratches and dust spread throughout your home.
In multi-story homes or apartments, be mindful of the noise and vibrations affecting your neighbors. Set a clear work schedule, and try to minimize mess in shared spaces. The more effort you put into containment upfront, the less time you’ll spend on cleanup later—and the fewer surprises you’ll encounter from unnoticed damage.
Dealing with Unexpected Surprises
No matter how well you plan, surprises can pop up during demolition. Mold behind cabinets, outdated wiring, or even pests in walls are not uncommon. Be ready to pause and reassess if something unexpected arises. Ignoring these issues can lead to bigger headaches down the line during the remodeling phase.
Having a contingency budget can ease the stress of surprise problems. Aim for at least 10–20% of your total project cost reserved for such cases. Document anything unusual with photos and notes so your contractor or inspector can give clear guidance on how to move forward. Being adaptable is key in any demo project.
Conclusion
Proper kitchen demolition is more than just the first step in a remodel; it’s a critical phase that sets the tone for the entire project. By planning meticulously, preparing adequately, and executing with care, you can ensure a smooth transition to the next phase of your kitchen renovation. Remember, a well-executed demolition not only makes the renovation process more efficient but also contributes to the overall success of your kitchen transformation. Clutter Ninjas Junk Removal
If you’re in the Magnolia area and need assistance with kitchen demolition or junk removal, consider reaching out to Clutter Ninjas Junk Removal. Their experienced team can help make your renovation process smoother and more efficient.Phone: 936-262-1999 Email: sborne@clutterninjas.com