Embarking on a flooring removal project is both exciting and intimidating. The thought of unveiling a fresh surface beneath your feet brings a sense of renewal, but the process of stripping away the old flooring can present unexpected challenges. Whether it’s worn carpet, outdated vinyl, or timeworn hardwood, each material requires a different approach to ensure safe and efficient removal.
Preparation is key—gather the right tools, wear protective gear, and understand the structure beneath your flooring. Being informed reduces risk and increases efficiency. With care and patience, you’ll be ready to create the perfect foundation for your new flooring.
Understanding the Importance of Safety
Before diving into the physical labor, it’s crucial to recognize the potential hazards lurking beneath your feet. Older flooring materials, especially those installed before the 1980s, may contain asbestos—a harmful substance when disturbed. If your home dates back to this era, it’s imperative to have the flooring tested by professionals before proceeding.
Equipping yourself with the right protective gear is non-negotiable. Safety goggles shield your eyes from flying debris, while heavy-duty gloves protect your hands from sharp edges and splinters. Knee pads can be a lifesaver during prolonged periods on hard surfaces, and a dust mask or respirator ensures you’re not inhaling harmful particles.
Preparing the Workspace
A clutter-free environment is essential for efficient flooring removal. Begin by removing all furniture and appliances from the area. This not only provides ample space to work but also prevents potential damage to your belongings.
Next, focus on the perimeters. Baseboards and trim often overlap flooring edges, making their removal necessary. Using a pry bar and hammer, gently detach these elements, taking care not to damage the walls. Labeling each piece can simplify reinstallation later.
Tackling Carpet Removal
Carpets, while cozy underfoot, can be a challenge to remove. Start by pulling up a corner using pliers, then work your way across the room, cutting the carpet into manageable strips as you go. Rolling these strips facilitates easier disposal.
Beneath the carpet lies the padding, typically stapled or glued to the subfloor. Remove this layer similarly, being cautious of any lingering staples or adhesive residue. A floor scraper can be invaluable in this phase.
Dealing with Vinyl and Linoleum
Vinyl and linoleum flooring, common in kitchens and bathrooms, often adhere firmly to the subfloor. Begin by cutting the flooring into strips, then use a floor scraper or pry bar to lift each section. For stubborn adhesive, applying heat with a heat gun can soften the glue, making removal more manageable.
It’s worth noting that some older vinyl flooring may also contain asbestos. Again, testing is crucial before disturbing these materials.
Removing Hardwood Flooring
Hardwood floors, while durable and timeless, can be labor-intensive to remove. Start by identifying a loose board or create a starting point using a circular saw, ensuring you don’t cut into the subfloor. Pry up each plank carefully, working methodically to minimize damage.
If the hardwood is glued down, the process becomes more complex. Using a circular saw to cut the flooring into sections can ease removal, but be prepared for a workout as you chisel and pry each piece free.
Addressing Laminate and Floating Floors
Laminate and floating floors are typically easier to dismantle. These systems often use a click-lock mechanism, allowing each plank to be lifted and removed without much resistance. Start at a corner, gently lifting each piece and working your way across the room.
Be mindful of the underlayment beneath. If it’s in good condition, you might reuse it; otherwise, dispose of it responsibly.
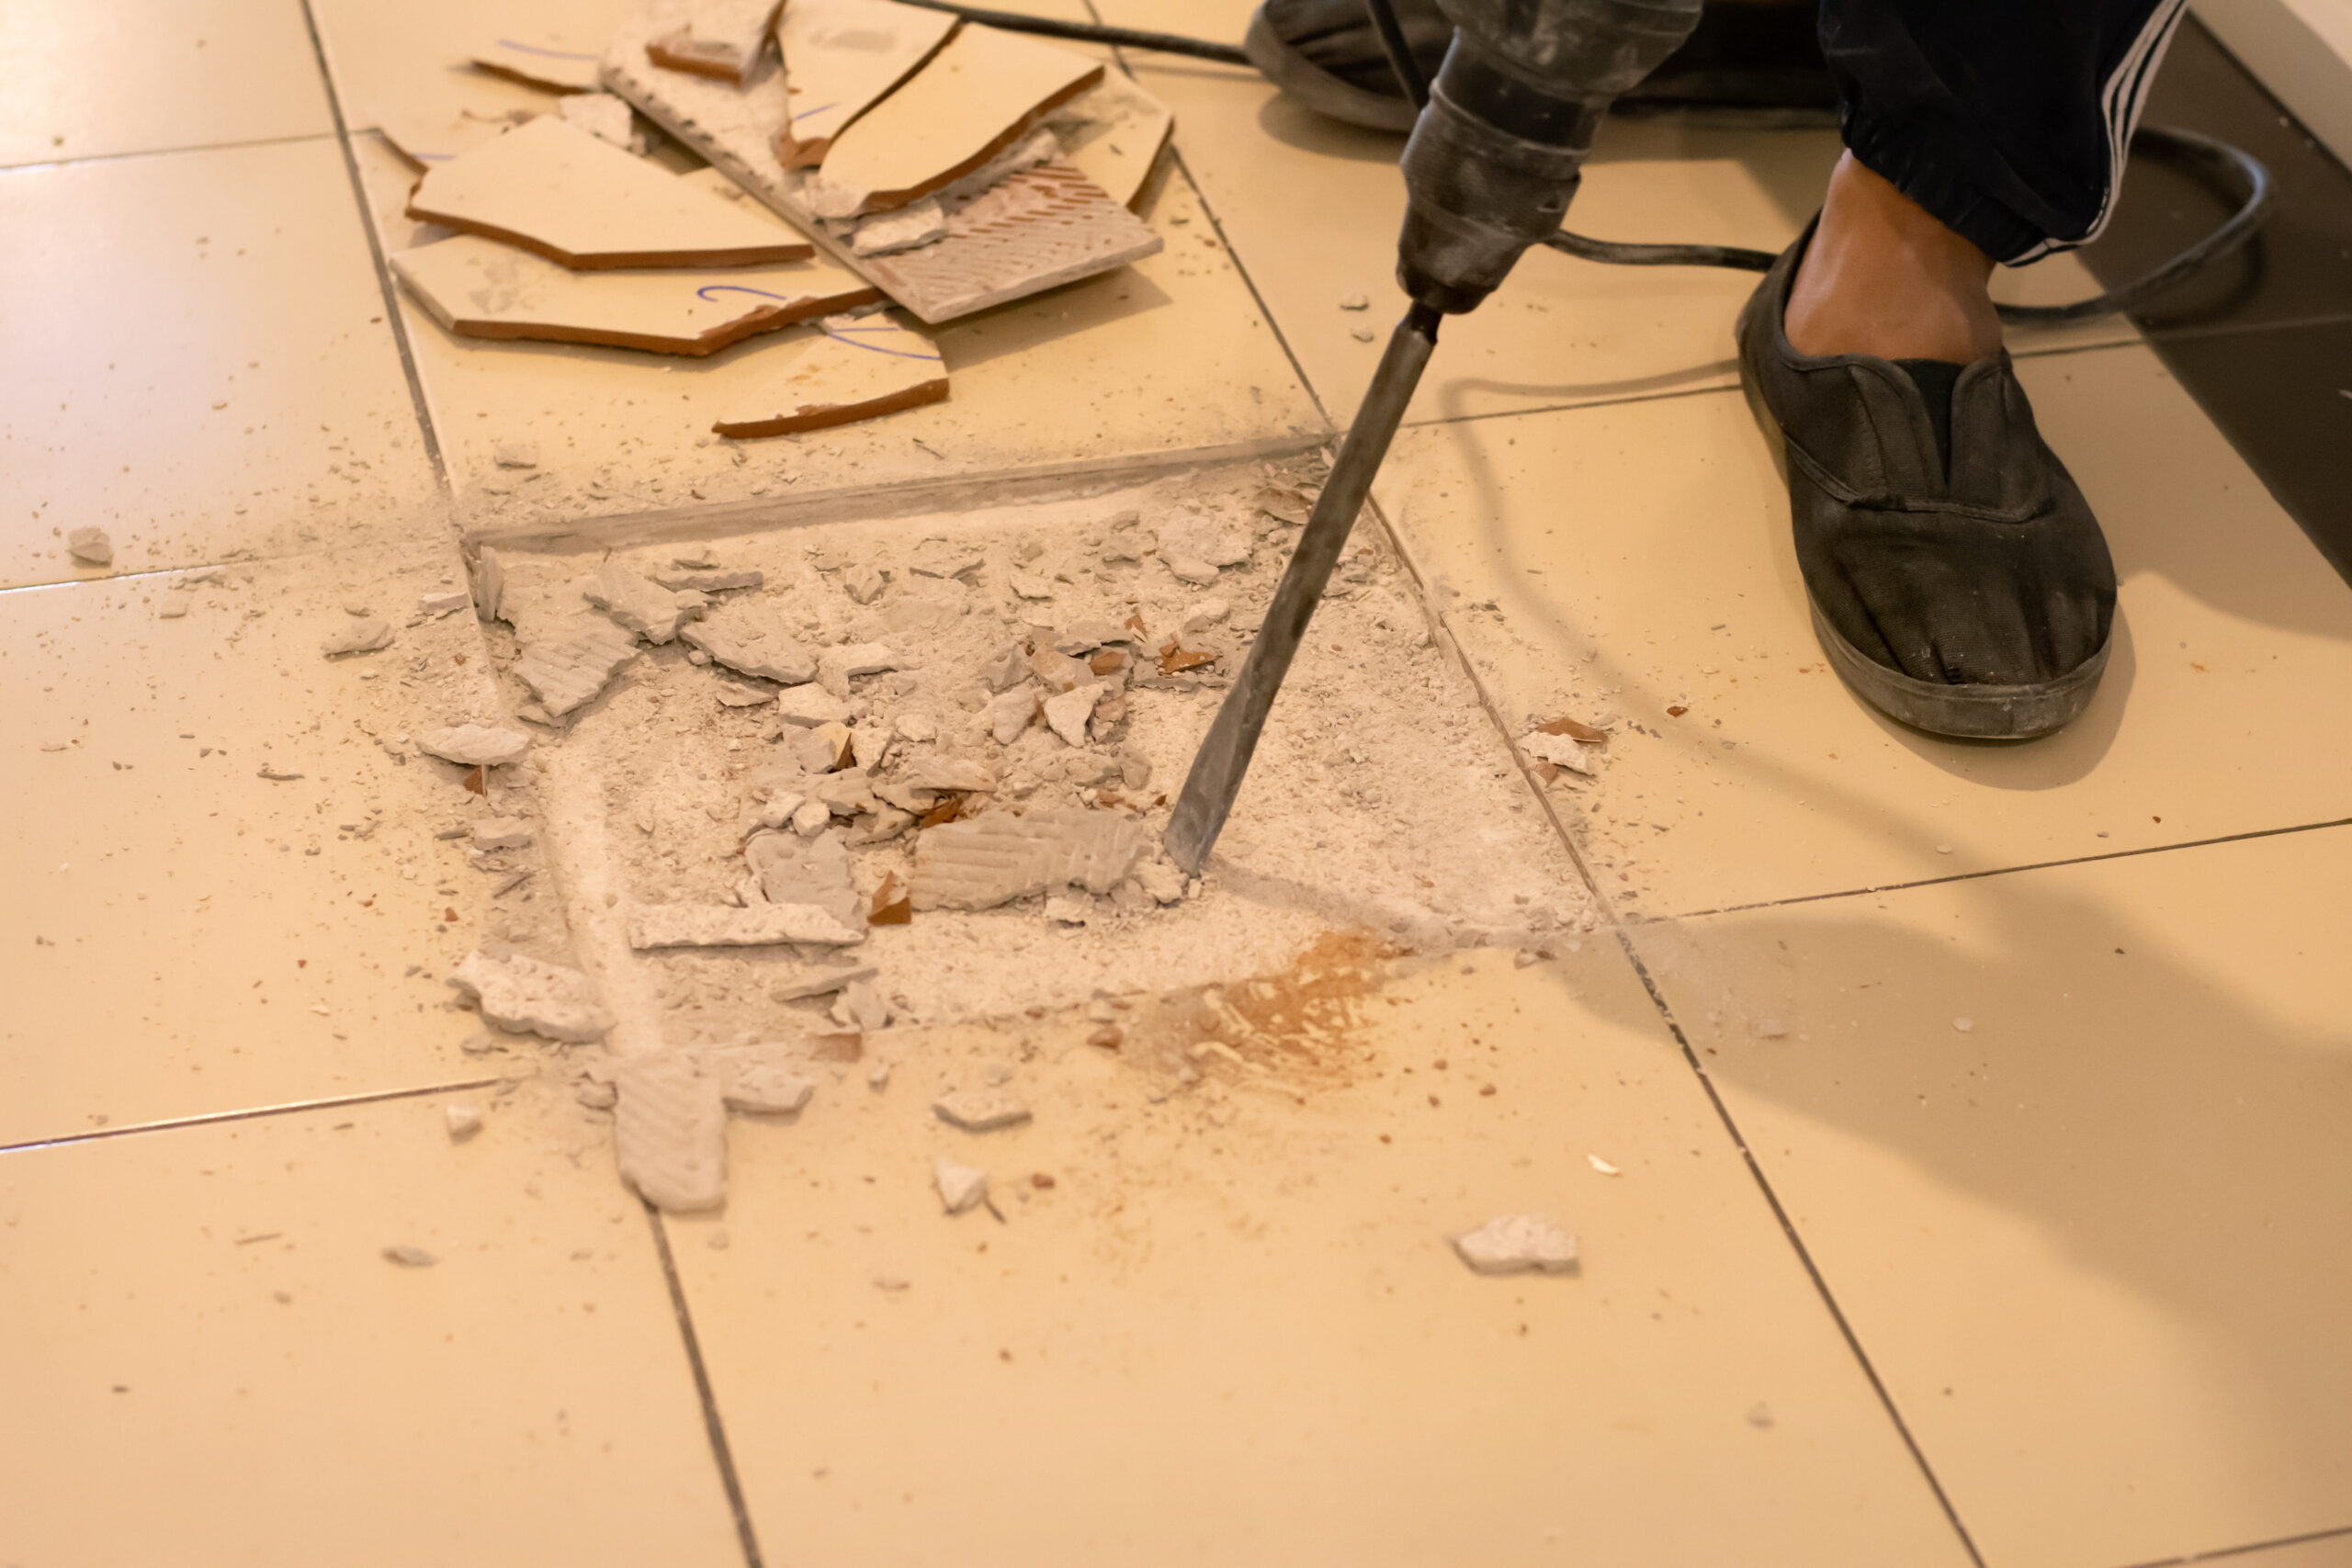
Handling Tile Flooring
Tile removal is perhaps the most arduous of flooring tasks. Begin by breaking a tile in the center of the room using a hammer, then work outward, chipping away each piece. A chisel and hammer or a power tool like a rotary hammer can expedite the process.
Once the tiles are removed, you’re left with the adhesive or mortar. This layer can be stubborn, requiring a floor grinder or scraper to achieve a smooth surface ready for new flooring.
Cleaning and Preparing the Subfloor
After the old flooring is gone, it’s essential to prepare the subfloor for the new installation. Remove any remaining adhesive, nails, or staples. Inspect for damage, rot, or uneven areas, addressing these issues promptly.
A clean, level subfloor ensures the longevity and appearance of your new flooring. Taking the time now prevents complications down the line.
Disposing of Old Flooring Materials
Proper disposal of old flooring is not only environmentally responsible but often legally required. Check with local waste management services for guidelines on disposing of materials like carpet, vinyl, or tile.
Some materials, especially those containing asbestos, require special handling. Never attempt to dispose of these on your own; instead, consult with professionals trained in hazardous material removal.
Assess the Type of Flooring Before Starting
Before beginning the removal process, identify the type of flooring you’re dealing with—hardwood, tile, carpet, laminate, or vinyl. Each material requires different tools and techniques for safe and efficient removal. Assessing the type also helps you anticipate potential hazards like adhesives, nails, or sharp tile edges.
Older flooring may contain hazardous materials such as asbestos or lead-based adhesives. If you’re unsure, it’s essential to consult a professional before proceeding. Proper identification allows you to take the necessary precautions, ensuring your safety and avoiding damage to the subfloor or surrounding areas.
Gather the Proper Tools and Safety Gear
Having the right tools is critical to a smooth and safe flooring removal. Depending on the flooring type, you may need pry bars, floor scrapers, utility knives, or power tools like oscillating multi-tools. Ensuring all your equipment is in good working condition before starting prevents delays and injuries.
Equally important is personal protective equipment (PPE). Safety goggles, gloves, knee pads, and dust masks can protect you from debris, sharp objects, and dust inhalation. Don’t overlook sturdy footwear—preferably steel-toed shoes—to guard against dropped tools or heavy flooring pieces.
Prepare the Area and Remove Obstacles
Before you begin, clear the room of all furniture, rugs, and decorations. Remove baseboards carefully with a pry bar and label them if you plan to reuse them. Securing a clutter-free workspace reduces the risk of accidents and allows for unrestricted movement while you work.
Cover nearby vents and doorways with plastic sheeting to contain dust. If you’re working on a multi-room project, isolate one room at a time. This preparation helps maintain a safer environment for both you and anyone else nearby, minimizing cleanup and airborne irritants.
Turn Off Utilities if Necessary
In certain cases—especially with heated flooring or flooring near water sources—it’s vital to shut off electricity, gas, or water. Removing flooring without cutting off utilities can lead to dangerous electrical shocks or leaks that may damage your home and cause injury.
Check behind baseboards and under floorboards for wiring or plumbing before beginning. If you suspect utilities may be present, consult a licensed professional. Taking the extra time to shut things down ensures you won’t accidentally damage critical systems or put yourself at risk.
Use Proper Technique to Minimize Damage
When removing flooring, patience and technique go a long way in preventing damage to the subfloor. For example, work in small sections and use slow, steady force when prying or cutting. Rushing the job can lead to gouging the subfloor, which may cost more to repair later.
Start at a corner or edge and use leverage instead of brute force. If adhesive is present, apply a heat gun or adhesive remover to soften it. Taking your time allows you to preserve reusable materials and prevents injury from sudden breaks or flying debris.
Dispose of Old Flooring Safely
Once removed, flooring materials must be disposed of properly. Some materials like vinyl or old carpet padding may not be recyclable and need special handling. Contact your local waste facility to learn about recycling options or hazardous waste guidelines.
Bundle or bag debris to make transport safer and easier. Avoid stacking sharp materials like tile or nails loosely, as they can pose a risk during disposal. Responsible cleanup ensures safety and keeps your workspace manageable during the project.
Inspect and Prepare the Subfloor
After the flooring is removed, inspect the subfloor for signs of damage like mold, rot, or uneven surfaces. Addressing these issues now will help ensure a longer-lasting and better-quality installation of your new floor. A clean, level surface is key for durability.
Clean the subfloor thoroughly, removing any remaining adhesive or debris. Sand down high spots or fill in gaps with a leveling compound as needed. Taking the time to prep the subfloor properly sets the stage for a professional finish and reduces the risk of future problems.
Conclusion
Embarking on a flooring removal project is a significant undertaking, blending physical labor with careful planning. By understanding the specific challenges each flooring type presents and approaching the task methodically, you can ensure a safe and efficient process.Remember, while DIY can be rewarding, there’s no shame in seeking professional assistance, especially when dealing with hazardous materials or extensive projects. Prioritize safety, stay informed, and your flooring removal endeavor will pave the way for a beautiful new beginning.
For residents in the Magnolia area seeking expert assistance with flooring removal or related services, Clutter Ninjas Junk Removal stands ready to help. With a commitment to safety and efficiency, their team ensures your project is handled with the utmost care.Reach out to Clutter Ninjas Junk Removal at 936-262-1999 or via email at sborne@clutterninjas.com for more information or to schedule a consultation.