Demolition is messy by nature—but cleanup doesn’t have to be chaotic. Whether you’re tearing out a kitchen, dismantling a deck, or preparing for a full renovation, organizing your cleanup is just as important as the demolition itself. A well-structured approach minimizes hazards, cuts down on delays, and keeps your site efficient from start to finish. For homeowners and contractors alike, knowing how to set up your cleanup plan early can make a world of difference. Instead of scrambling to contain dust, broken materials, or scattered debris, you can control the flow of your project—and save yourself from headaches down the road.
There’s an art to a good cleanup, one that balances speed, safety, and strategy. A smooth demolition cleanup starts with intention and ends with order. This guide walks you through everything you need to know to make sure your next teardown doesn’t leave you buried under the rubble. Let’s break down what matters and how to manage each phase with clarity.
Pre-Plan Your Cleanup Strategy Before You Swing a Hammer
The worst mistake you can make during demolition is assuming cleanup will “just happen” after the dust settles. That mindset invites disorder. Planning your cleanup ahead of time means you’re thinking in layers—where waste will go, how it’ll be removed, and what tools you’ll need to stay efficient. Walk through the area before demolition day with cleanup in mind. Know what materials will be coming down, what can be salvaged, and how fast debris will pile up.
Having bins staged, trucks scheduled, and paths cleared will prevent chaos mid-tear-out. A well-thought-out cleanup plan will also include storage options for tools, a separation process for recyclable and hazardous waste, and proper safety measures to avoid injury. It’s not just about sweeping afterward—it’s about designing the entire flow of demolition so cleanup is baked into every step.
Segment the Demolition Area Into Cleanup Zones
Instead of letting your demolition site become a free-for-all, break the area into zones. Each zone should have a designated function: disposal, salvage, storage, and clear access routes. This segmentation helps control clutter and keeps debris from piling up in walkways or work areas. It also improves safety, since workers will always know where materials are going and where they shouldn’t be.
Zones also help with timing. You can tackle one section, clean it out, and move to the next without backtracking. Think of it as a methodical teardown, not a demolition blitz. Assigning zones doesn’t take long but pays off in smoother workflows. You’ll spend less time shuffling materials around and more time getting closer to your finished project.
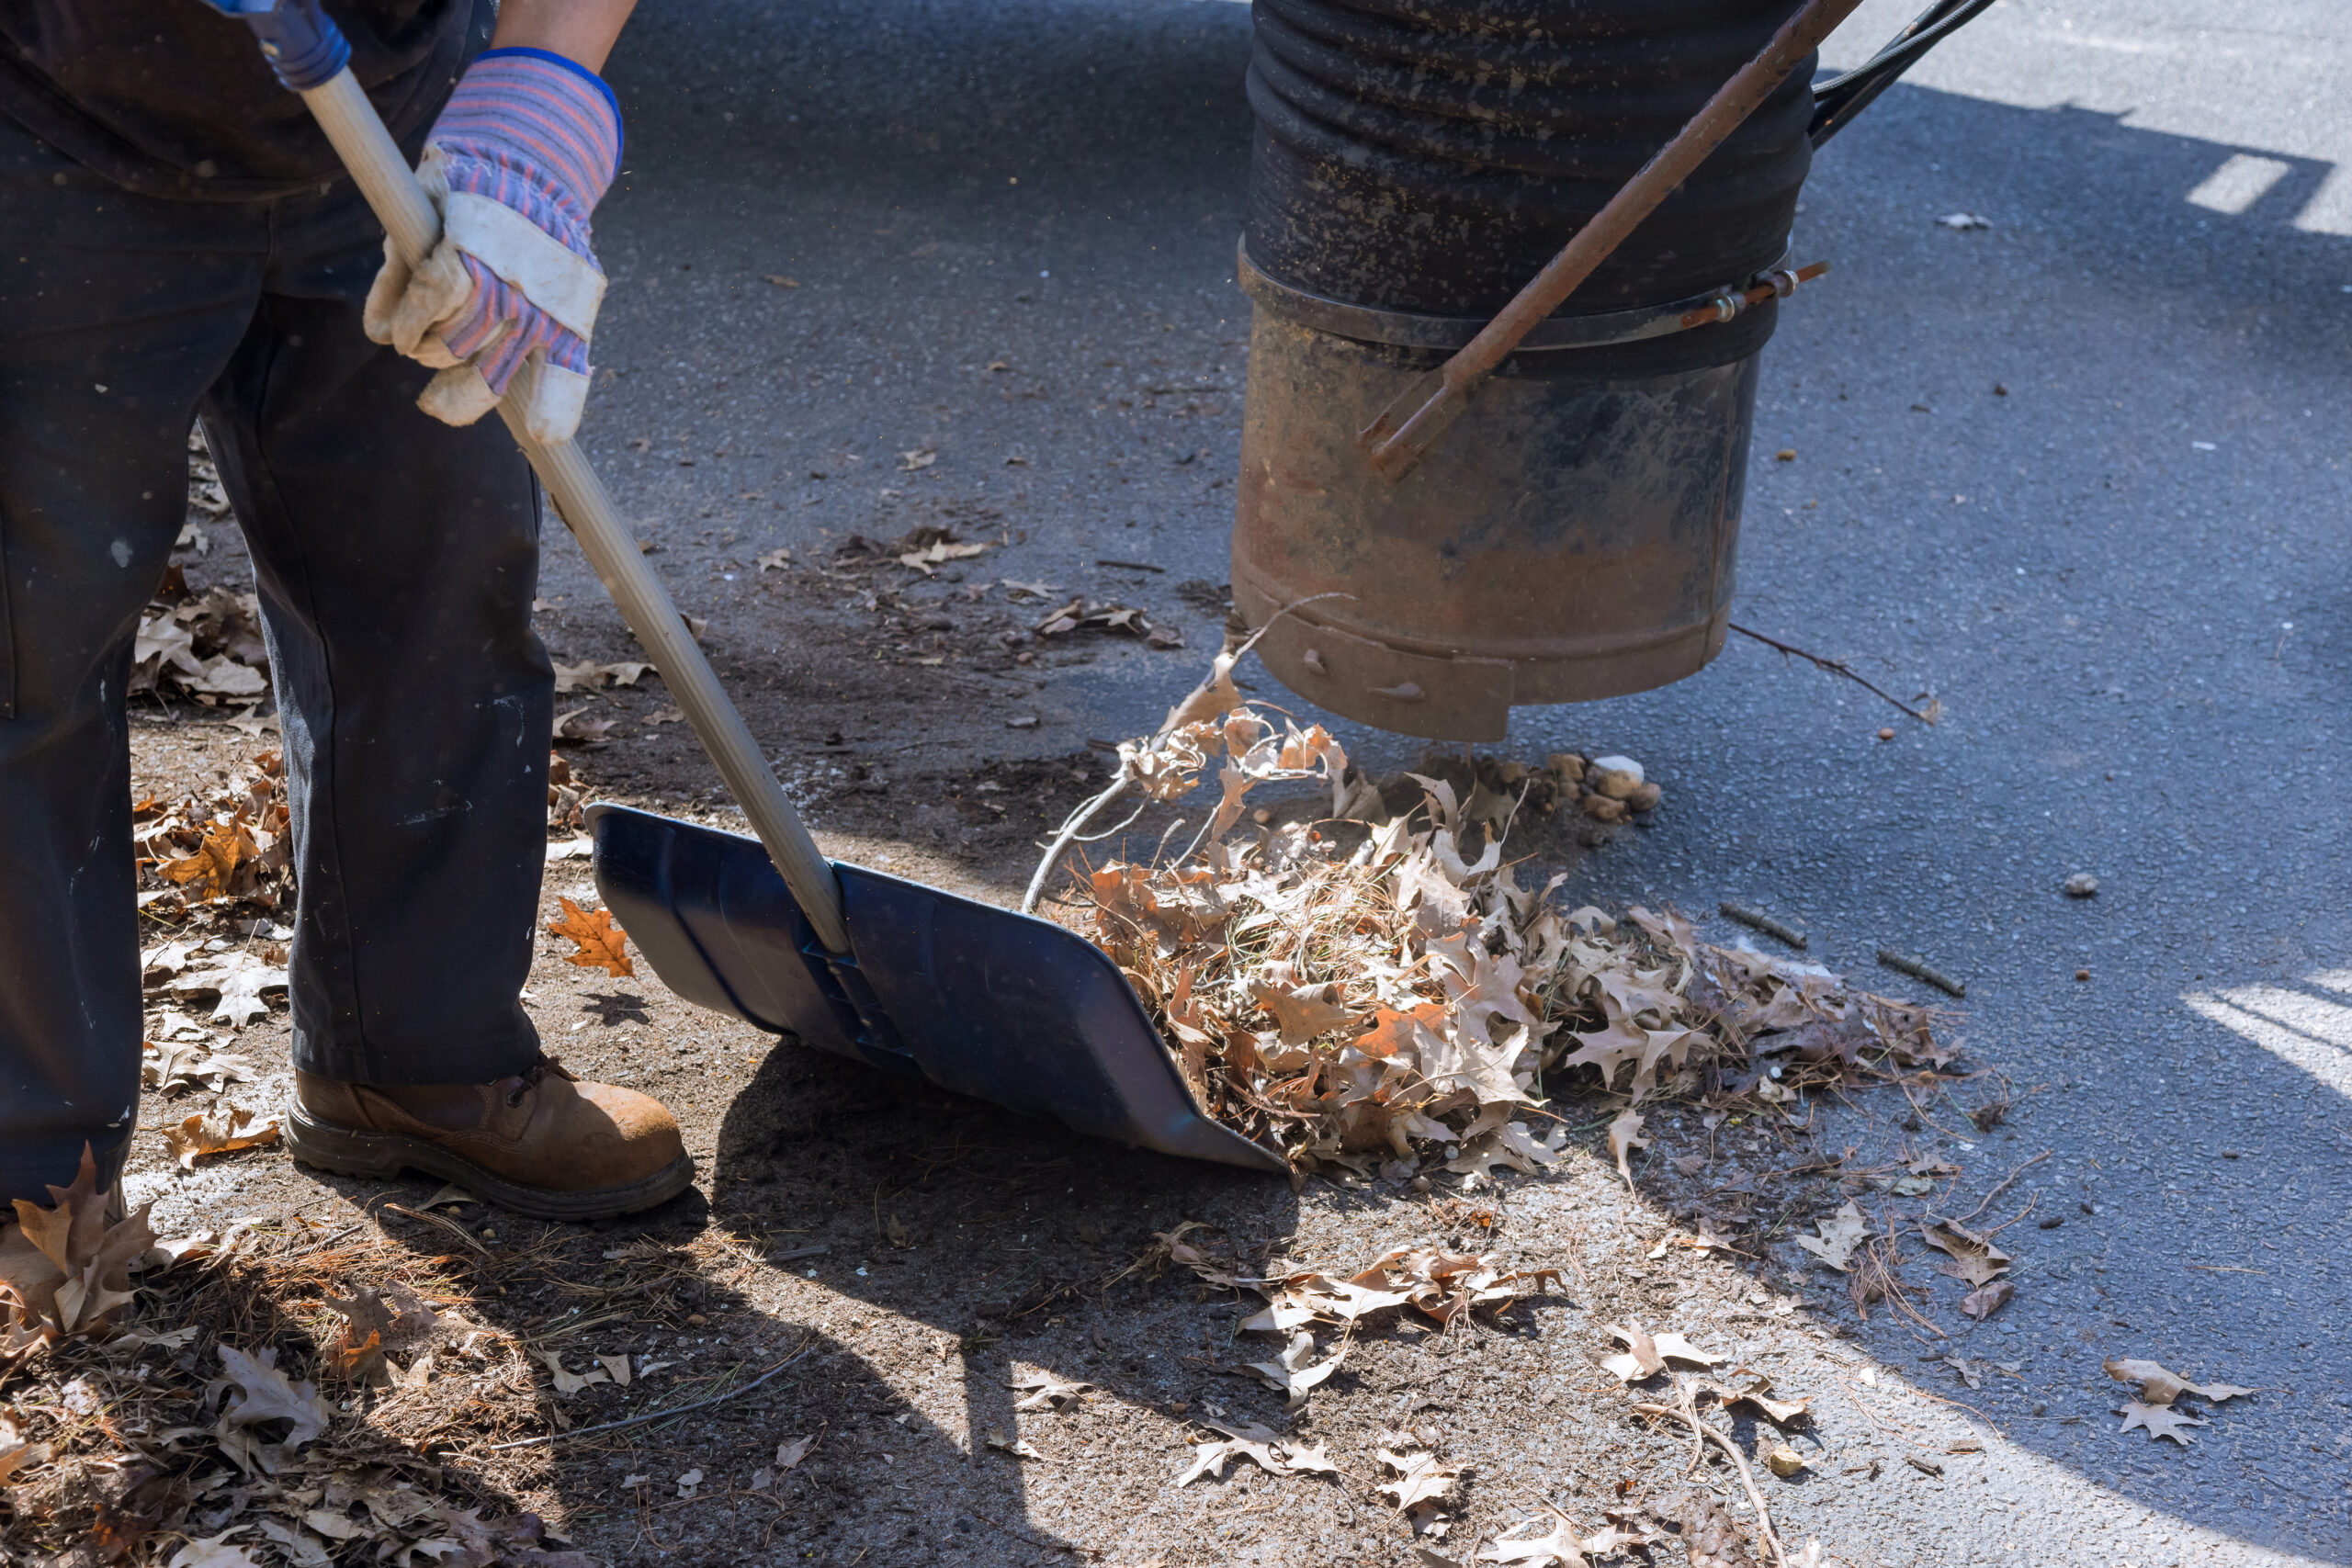
Use the Right Tools and Containers for Each Phase
Demolition cleanup isn’t just about brute force—it’s about using the right equipment to move debris quickly and safely. Small items like drywall scraps or nails need durable contractor bags. Larger chunks of concrete or wood require wheelbarrows, dollies, or even skid steers. Don’t assume one dumpster will handle it all. Use multiple containers based on material type and weight class to avoid overloading or wasting space.
Labeling each bin or designating them by area ensures everyone knows what goes where. If you plan to recycle wood, metal, or other salvageable items, keep those bins separate and off to the side. This reduces confusion and prevents cross-contamination, which is a big deal when you’re hauling off tons of material. The more precise your containers, the less mess you’ll have to untangle later.
Debris Removal Schedule in Sync With Demo Progress
Waiting until the end of a demo to start removing debris is a guaranteed way to create bottlenecks. As demolition progresses, so should your cleanup. Set a schedule that aligns debris removal with the project’s pace—whether that means hauling away waste daily, every few hours, or after each major section is finished. It keeps the site moving and avoids unnecessary pileups.
Coordinating with a junk removal service early ensures that you’re not calling for a last-minute pickup while materials sit in the driveway or block pathways. Scheduling pickups in stages also gives you more breathing room. The demo doesn’t have to pause just because the cleanup crew is overloaded. Instead, cleanup becomes an integrated part of the workflow—efficient, smooth, and always one step ahead.
Protect the Surrounding Property From Debris Damage
One of the biggest oversights during demolition is failing to protect the areas that aren’t being torn down. Dust, chunks of material, or falling objects can easily spread and cause damage. A good cleanup plan includes preventative measures like covering floors, sealing off doorways, and creating clean walkways to contain the chaos.
Use drop cloths, heavy-duty plastic sheeting, and sturdy barriers to block off nearby areas. Set up ventilation or dust collectors if you’re indoors. This foresight doesn’t just protect your property—it also makes the final cleanup faster. There’s less to wipe down, fewer items to repair, and more control over the demolition’s reach. Cleanup is easier when the mess is contained from the start.
Document and Photograph the Cleanup Process for Reference
While it may seem unnecessary, photographing your demolition and cleanup process can be a huge asset. It gives you a visual timeline of what was removed, what was salvaged, and how effectively each stage was executed. These records are especially useful for homeowners working with contractors or for future reference in case of disputes or damage claims.
It’s also a great way to improve your next project. By reviewing photos of the cleanup zones, dumpster usage, and debris piles, you can find weak spots in your current process and plan better next time. Organized demolition isn’t just about what’s happening now—it’s also about building smarter habits for future work.
Separate Recyclables and Hazardous Materials Responsibly
Not everything you remove during a demolition should go into the same pile. Some materials are recyclable—like wood, copper pipes, or concrete—while others, like asbestos or treated wood, require special disposal. Failing to separate these materials slows down cleanup, increases costs, and could even result in fines.
Create a system that distinguishes hazardous items from general waste. This might involve using specific color-coded bins or assigning a crew member to monitor what goes where. The effort pays off in reduced risk and easier coordination with local disposal facilities. Responsible cleanup is part of a smooth demolition process, and when it’s done right, you’re not just clearing space—you’re keeping things legal and safe.
Communicate the Cleanup Plan With Everyone Involved
Even the best plan can fall apart if the team isn’t aligned. Whether you’re hiring a crew or doing the demo yourself with a few helpers, make sure everyone understands the cleanup strategy. Go over where bins are located, how materials should be sorted, and what’s expected at each phase. Clarity prevents hesitation, keeps the site flowing, and ensures no one is left guessing.
Regular check-ins during the demolition process help, too. Adjust the plan if needed, but don’t let communication slip. It only takes one misstep—like dumping recyclable materials into the trash—to derail the system. When everyone is on the same page, the entire operation moves with confidence and less friction.
Wrap Up the Final Cleanup With a Post-Demo Inspection
Once the last piece of drywall is removed and the last nail swept away, take a moment to inspect the area thoroughly. This final walk-through should confirm that nothing was missed, no damage was left behind, and the space is truly ready for the next phase. Look at corners, under protective barriers, and behind removed structures to be sure everything is in order.
This final inspection is your quality check. It catches small oversights and gives you peace of mind. If you’ve hired a junk removal service, confirm they’ve taken everything outlined in the original plan. Ending the project on a clean, clear note sets the stage for the renovation or rebuild to begin without delays—and it reinforces that your cleanup process was just as sharp as the demolition itself.
Create a Detailed Cleanup Plan in Advance
Before demolition begins, outline a comprehensive cleanup strategy. Identify what materials will be removed, which items can be recycled, and how debris will be handled. Planning helps avoid delays and keeps the site safe and manageable. Consider hiring professionals for heavy-duty cleanup and hazardous waste. Having a solid plan ensures efficiency and prevents last-minute scrambling during the demolition process.
Sort Debris as You Go
Separating materials during demolition can save you time and money later. Create designated piles for wood, metal, concrete, and trash. Label bins or zones to make sorting easy and reduce cross-contamination. Not only does this simplify disposal, but it also allows you to recycle or reuse items, which is more eco-friendly. Being organized during the process means less mess and faster cleanup.
Use the Right Tools and Equipment
Having the proper gear is crucial for safe and effective cleanup. Invest in heavy-duty gloves, masks, shovels, wheelbarrows, and containers. For larger jobs, rent dumpsters or specialized equipment like skid steers. The right tools make debris removal quicker and reduce the risk of injury. A well-equipped crew can handle even large-scale demolition messes with less hassle and greater efficiency.
Conclusion
A well-orchestrated demolition cleanup is the backbone of any successful remodeling or rebuilding project. By planning ahead, staying organized, and treating cleanup as part of the demo—not an afterthought—you create a safer, more efficient environment that saves time, money, and stress. From designated zones to scheduled removals, every small detail adds up to a smoother process. And when the dust settles, you want a space that’s not just torn down—but also cleaned up to perfection.
If you’re looking for a reliable partner to handle the heavy lifting of demolition cleanup, reach out to: Clutter Ninjas Junk Removal Location: Magnolia Phone: 936-262-1999 Email: sborne@clutterninjas.com